動作確認と、ベンチマークが終わった Jetson nano が、ホコリを被っている。
サーバーか何かに転用しようと思い立ったのですが、
microSDはすぐに壊れるので、長期稼働に耐えられるように、USB Boot できないか調べたところ、Jetson hacks にガイドを発見できたので、試してみる。
今回登場する方法は、Jetson Hacks では2番目の方法らしい。
なお、最終的に、micro SD カードを抜いて起動することは できません!。
起動しには、micro SD カードを刺しておいてください。
Jetson hacks のガイド
Jetson Nano – Run From USB Drive
https://www.jetsonhacks.com/2019/09/17/jetson-nano-run-from-usb-drive/
ポイント
You should do this on a freshly flashed Micro SD card
と有るので、素直に OS を焼き付け直す。
OS セットアップ
Getting Started With Jetson Nano Developer Kit
https://developer.nvidia.com/embedded/learn/get-started-jetson-nano-devkit
img 取得
Jetson Nano Developer Kit SD Card Image,
nv-jetson-nano-sd-card-image-r32.4.2 だった。
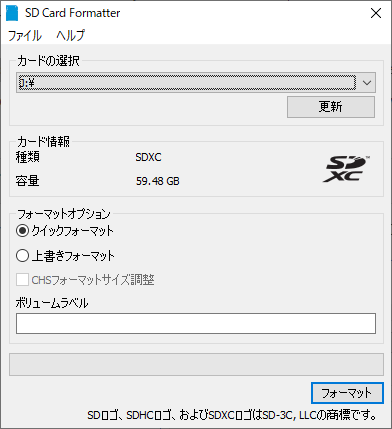
micro sd カードをフォーマットする
sd card formatter を使用しなさいということなので、従う。

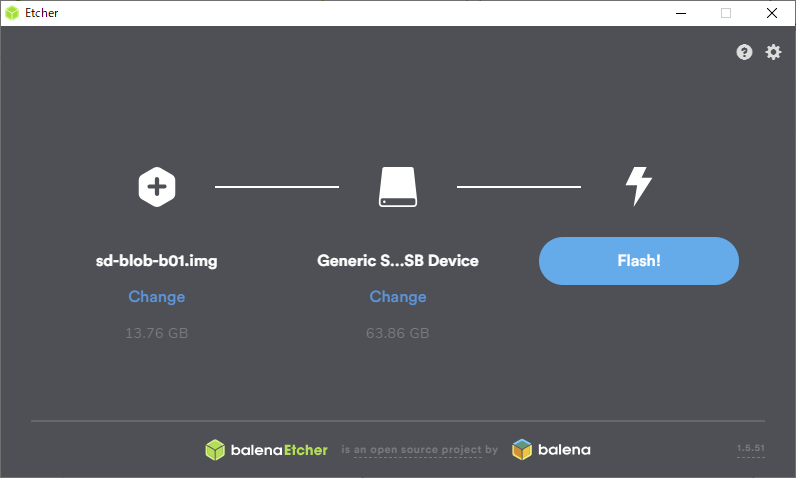
焼き付ける
Balena Etcher を使用しなさいということなので、従う。

電源
今回は、5V 4A の電源を使用しますので、J48 ピンをジャンパーでショートさせておきます。
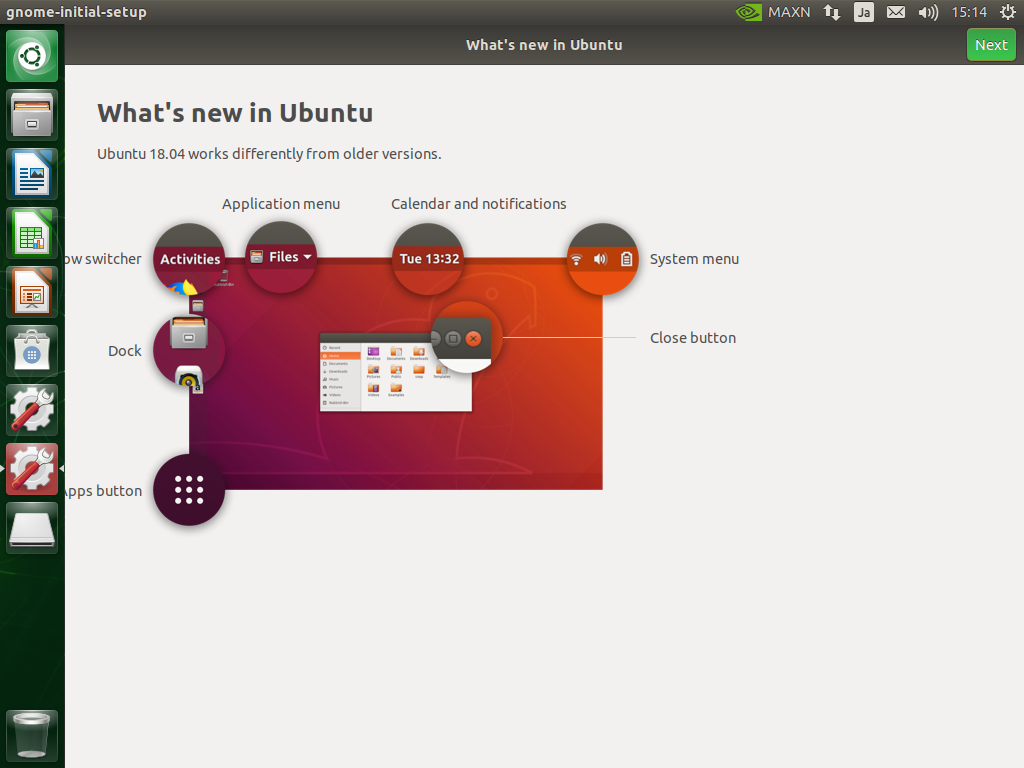
起動とセットアップ
言語は English, キーボードは Japanese > Japanese にしました。
起動する
電源をさして、起動します。

USB Boot の設定をする
Git clone
git clone https://github.com/JetsonHacksNano/rootOnUSB
cd rootOnUSB
./addUSBToInitramfs.sh
外付けSSDの準備
Youtube に従います。
フォーマット
disks を起動して、Compatible with all sytem... で format.
パーティション作成
Volume. End に 10GB 残して設定
Volume name 適当に設定する。 NanoSSD256 など
Type internal Disk for use with Linux systems only (Ext4) を選択
Step データのコピー
まず、マウントしましょう。
左のアイコンをダブルクリックすると、マウントしてくれる
コマンド実行
./copyRootToUSB.sh -p /dev/sda1Step 4 /boot/extlinux/extlinux.conf の修正
/boot/extlinux/extlinux.conf を修正します。
設定ファイルのバックアップを取って
cd /boot/extlinux
sudo cp extlinux.conf extlinux.conf.org
TIMEOUT 30
DEFAULT primary
MENU TITLE L4T boot options
LABEL primary MENU LABEL primary kernel LINUX /boot/Image INITRD /boot/initrd-xusb.img APPEND ${cbootargs} root=UUID=db47586f-2cf9-494c-99ba-1ea322190395 rootwait rootfstype=ext4
LABEL sdcard MENU LABEL primary kernel
LINUX /boot/Image
INITRD /boot/initrd
APPEND ${cbootargs} quiet
# When testing a custom kernel, it is recommended that you create a backup of
# the original kernel and add a new entry to this file so that the device can
# fallback to the original kernel. To do this:
#
# 1, Make a backup of the original kernel
# sudo cp /boot/Image /boot/Image.backup
#
# 2, Copy your custom kernel into /boot/Image
#
# 3, Uncomment below menu setting lines for the original kernel
#
# 4, Reboot
# LABEL backup
# MENU LABEL backup kernel
# LINUX /boot/Image.backup
# INITRD /boot/initrd
# APPEND ${cbootargs}みたいにします。
もともと有ったセクションの LABEL は、 sdcard などとしましょう。
UUID に関しては、 ~/rootOnUSB/diskUUID.sh が吐き出してくれますので、コピペしましょう。
Reboot
再起動して、SSD がマウントされていることを確認します。

